Showing posts with label Other Mobile Repairing. Show all posts

iPhone 3G Take apart

iPhone 3G Take apart directions:
A free video with directions on how to properly take apart the cell phone.


Motorola A1000 disassembly

Motorola A1000 disassembly

If you require a new screen, phone cover and screwdrivers, they can be purchased
in any Motorola Customer Service Center.

Tools required: T5 screwdriver

  • Turn your phone over so the camera is facing you and remove the battery cover and battery. Then remove the 8 screws (circled below). You can now separate the back of the housing from the rest of the phone.

  • Once you have removed the back of the housing, you'll see 2 more screws. Remove these. You can now remove the front part of the housing from the main body of the phone.

  • Your phone should now look like the image below.

  • Carefully remove the keyboard interface from he main board of the phone.

  • Your phone should now look like the image below. Carefully unclip the connector (circled below) from the main board. You should now be able to lift the screen from the main board.

  • With the screen removed, the job is nearly finished. There are five clips around the screen which need to be removed (two of them are circled below)

  • You should now have the screen separated, as below

Reverse the procedure for disassembly and it's finished.

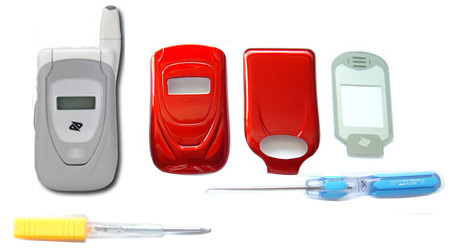
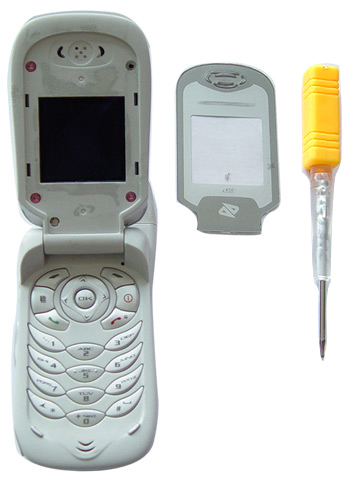
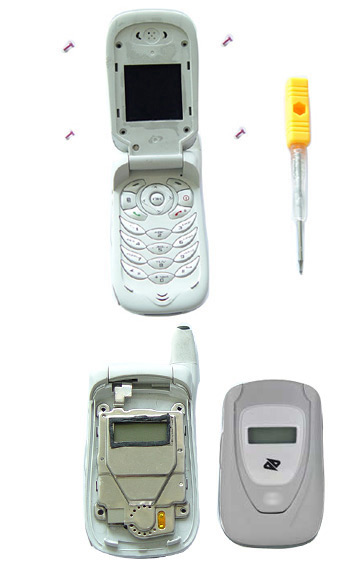
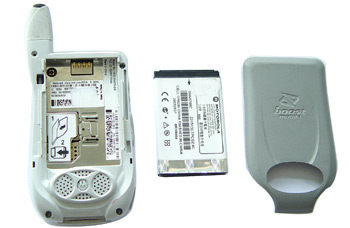
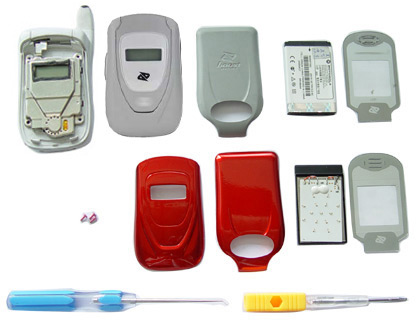
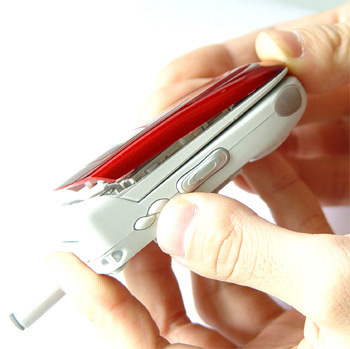
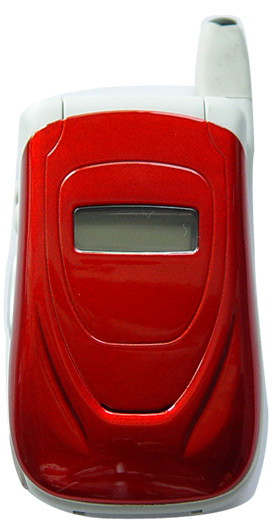
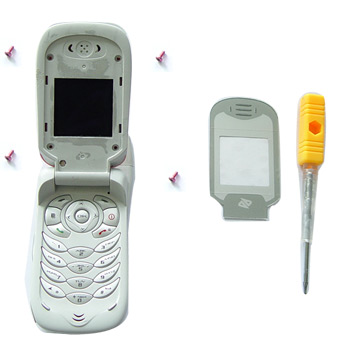
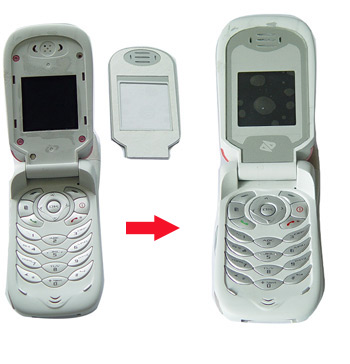
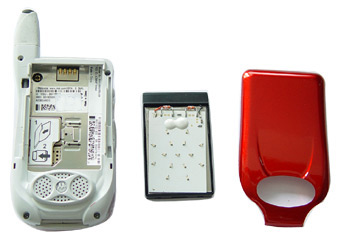
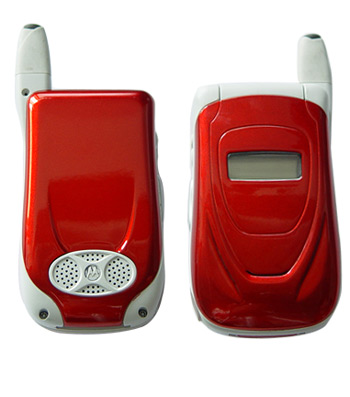
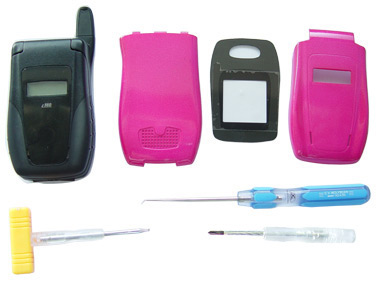
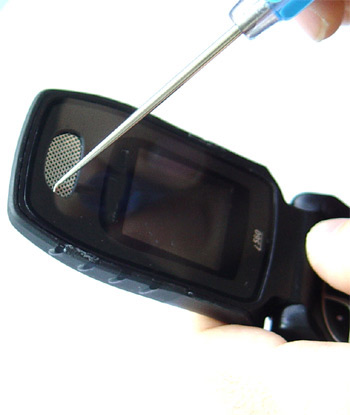
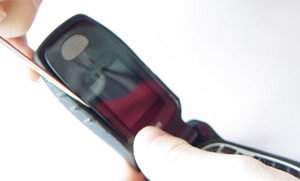
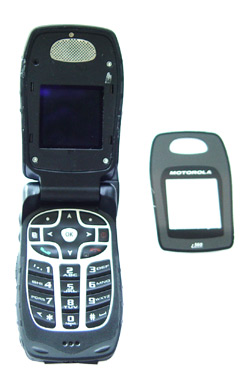
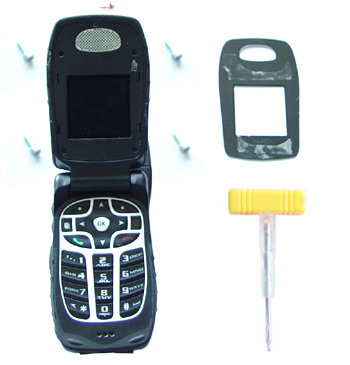
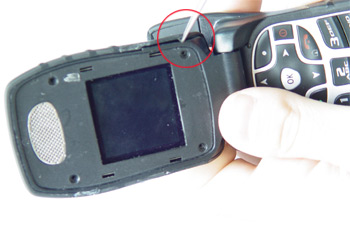
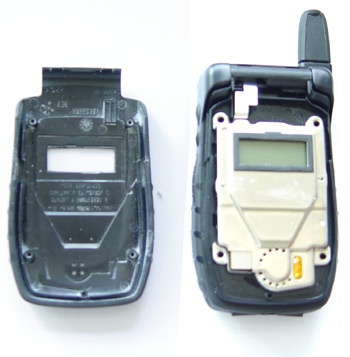
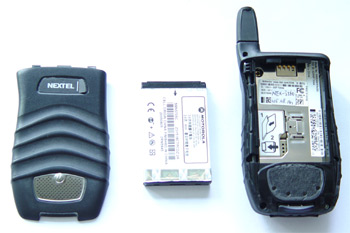
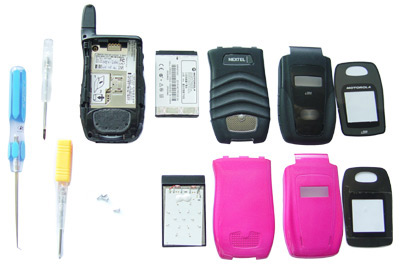
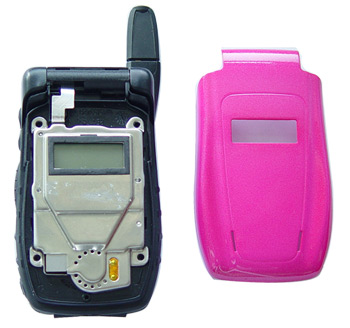
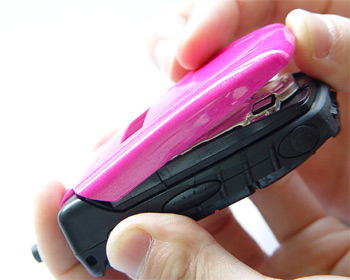
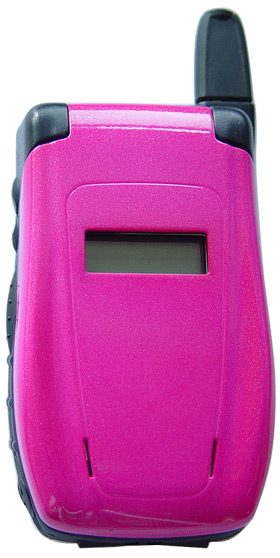
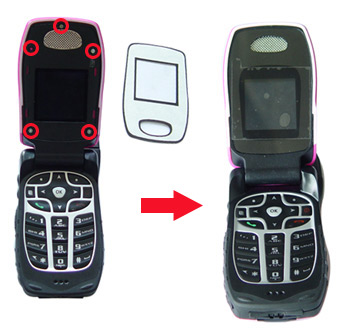
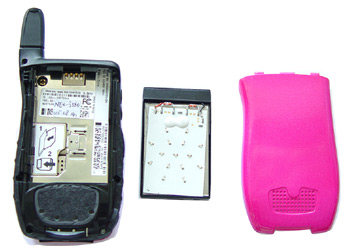
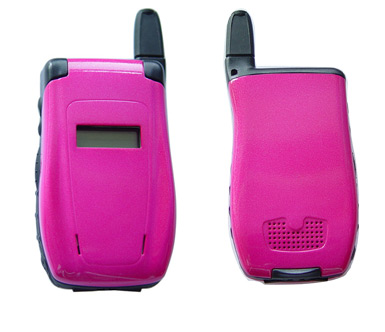
MOTOROLA-i450 FULL HOUSING INSTALLATION

MOTOROLA-i450 FULL HOUSING INSTALLATION


For example
1
2
3
4
5
6
7
8
9
10
11
12

Cheers !

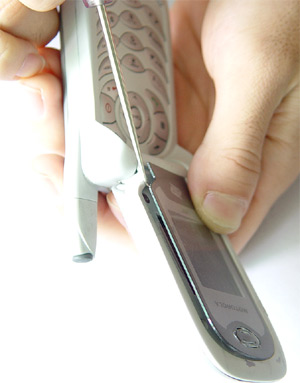
MOTOROLA-i560 FULL HOUSING INSTALLATION

MOTOROLA-i560 FULL HOUSING INSTALLATION


For example
1
2
3
4
5
6
7
8
9
10
11
12
13
14
15

Motorola L6 disassembly

Motorola L6 disassembly

Tools required: Torx 5 screwdriver, tweezers, plastic shim such as a guitar plectrum
  • Removing the antenna cover:
    1. Remove the battery cover, battery and SIM
    2. Use the screwdriver or tweezers to gently pry off the RF grommet located on the antenna cap (below)

  • Removing the antenna cover:
    3. Carefully use the flat end of the tweezers to release two latches on the top end of the antenna cover, then carefully lift the antenna cover away from the phone.

  • Removing the transceiver PC board shield:
    4.Using the T5 screwdriver, remove the 6 housing screws from the phone. Set the screws aside for re-use (see Figure 10).
    5.Lift the metal shield away from the phone.

  • Removing the housing:
    6. Insert the plastic shim between the front housing and the chassis assembly. Slide the plastic shim around the phone between the front housing and the phone to release the housing catches along the sides of the front housing

  • Removing the housing:
    7. Carefully lift the bottom end of the front housing over the phone. The earpiece will still be connecting the front cover to the rest of the phone at the top of the phone so be careful

  • Removing the earpiece speaker from the front housing:
    8. Use the plastic shim or tweezers to separate the earpiece speaker from the front housing

  • Removing the LCD screen:
    9. Use the tweezers to release the display module assembly latch located at the side of the display module

  • Removing the LCD screen:
    10. Lift up the top edge of the display module
    11. Carefully thread the display flex cable through the slot in the chassis assembly and lift the display module away from the chassis

Replace the old screen with new and reverse the whole procedure for reassembly

Motorola MPX-200 Exploded View

Motorola MPX-200 Exploded View

When dismantling any phone, great care should be taken to ensure that no damage is caused to any of the parts. Rough handling may result in severe damage of many parts, and if proper anti-static procedures are not followed, electrostatic damage may result in any electronic component.

Before commencing, it is recommended that the correct tools are purchased for the job in hand - at the very least, you will require a Torx T6 screwdriver.

Please remember that this is an exploded view, and not a step by step guide - however, so long as you're careful, take your time and follow the diagram carefully you shouldn't have too many problems.


Motorola L7 Housing

How to Change Your L7 Housing

You will need a small flathead screwdriver or old sim card, a Torx T6 screwdriver, (I found one at my local sears), your L7, and the new housing.

So first we take our phone and our new housing. Turn off the phone and remove the battery and sim card. (It is a good idea to put on a semi-soft work surface. I used news papers so as not to scratch my slvr.)

Now take a small flathead screw driver and be very carefull . . . or something flat and plastic so as not to chip the paint (old sim card), and pry the antenna cover off starting at the side.

After removing antenna cover, we will take our Torx T6 screw driver and remove the six screws holding the front faceplate on?

After removing the six screws, carefully lift off the camera cover and set aside?..turn the phone over and either use the sim card or your fingernails to pull the front faceplate off. It will resist a little but try to pull where you removed the six screws and it will be ok. This is what it looks like when you get the front faceplate off.

?..Mine was kind of dusty so I used a can of air to remove some of the dust?..Now just snap on your new front faceplate, replace the camera cover, making sure you line up the holes for the screws, and replace the six screws. VERY IMPORTANT>>>>DO NOT OVERTIGHTEN OR YOU WILL CRACK YOUR NEW FACEPLATE!!! Snap the new antenna cover back on and replace the battery and sim card, and then the battery cover and you are done.

Congrats because you now have a fresh new SLVR. Cheers !

 
Mobile Phones Blog | Features,Concepts,Applications and Prices © 2012 | Designed by Cheap TVS, in collaboration with Vegan Breakfast, Royalty Free Images and Live Cricket Score